
5 min read
Taking cuttings with Clonex and Jiffy pellets: a step-by-step guide
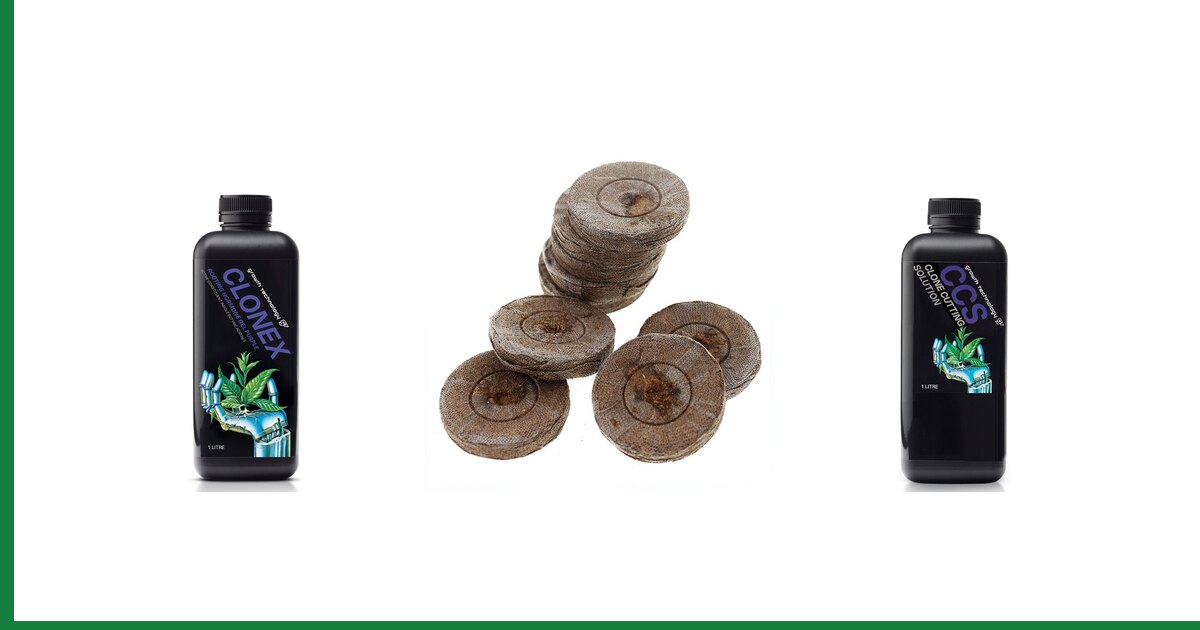
The short version. Soak the pellets, take a healthy 8 to 12cm cutting below a node with a clean sharp blade, dip straight into rooting gel, set it into the pellet, and keep it warm, humid and out of strong light. Most cuttings show roots in one to three weeks. The two things that lose you cuttings are a dirty blade and letting the leaves dry out in the first 48 hours.
Taking cuttings is how you keep the plant that actually performed. It is also where a lot of otherwise careful growers lose half a tray for reasons that are entirely avoidable. This is the method we would talk you through across the counter.
What you need
- A rooting gel. Clonex 15ml for a handful of cuttings, 250ml for a season, 1L for production trays.
- Something to root into. Jiffy pellets are the simplest - they expand in water and hold their own shape.
- A sharp blade. A scalpel or a razor. Not scissors, which crush the stem.
- A propagator or covered tray to hold humidity.
- Isopropyl alcohol for the blade between plants.
Everything above is in propagation and cloning.
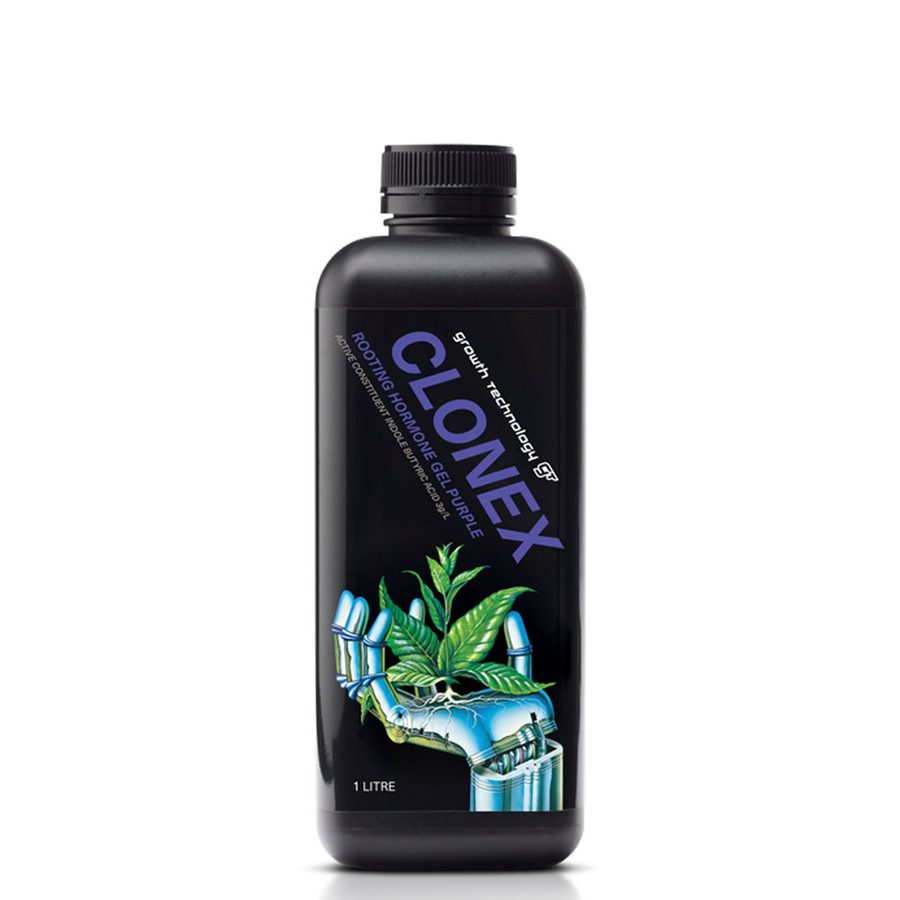
Clonex rooting gel seals the cut surface and puts hormone where roots form.
Step by step
1. Prepare the pellets first
Soak the pellets in clean water until they have expanded fully, then squeeze out the excess so they are damp rather than dripping. A waterlogged pellet is one of the most common reasons cuttings rot instead of rooting. Do this before you cut anything, so a fresh cutting never sits waiting.
2. Choose the right shoot
Take from a healthy, well-fed mother plant, and choose a shoot that is firm rather than thin and stretched. Aim for 8 to 12cm with at least two or three nodes. Avoid anything flowering, and avoid the very softest tip growth.
3. Cut cleanly, just below a node
Cut at roughly 45 degrees, immediately below a node - that is where root initials form most readily. The angle gives a slightly larger surface area. Sterilise the blade between plants; this is how disease travels around a tray.
4. Reduce the leaf area
Remove the lowest leaves so nothing sits buried in the pellet, and trim any very large leaves back by roughly half. A cutting with no roots cannot keep up with a full canopy's water loss.
5. Dip in gel, immediately
Pour a small amount of gel into a separate cup rather than dipping into the bottle - that keeps the main container uncontaminated. Coat the bottom 2 to 3cm and do it straight away, while the cut is fresh.
6. Set it and firm it
Push the cutting into the pellet hole so the gel-covered section is fully in contact with the medium, and gently firm the top. An air gap around the stem is a gap where roots will not form.
7. The first 48 hours
This is where cuttings are won or lost. Cover the tray, keep humidity high, and keep light gentle - a cutting has no roots to replace what the leaves lose. Warmth at the base helps; aim to keep the tray away from cold floors.
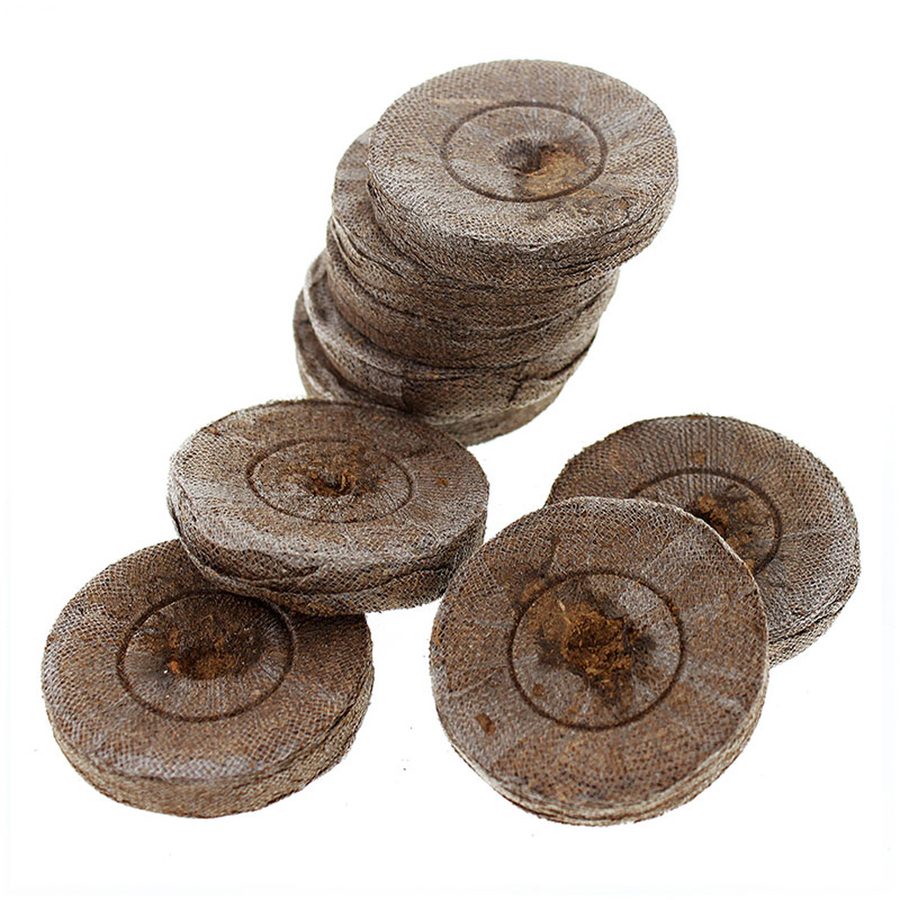
Jiffy pellets expand in water and hold their shape, so the root ball transplants without disturbance.
The week-by-week picture
| When | What to do | What you should see |
|---|---|---|
| Days 1 - 2 | Lid closed, gentle light, no feeding | Leaves stay turgid; some droop is normal |
| Days 3 - 7 | Start brief daily venting | Cuttings stand back up; no yellowing yet |
| Week 2 | Vent longer each day; keep pellets damp, not wet | First roots on the quicker species |
| Week 2 - 3 | Lid off progressively; a very weak feed once roots show | Roots through the pellet wall |
Potting on
Move them once roots are visible through the sides of the pellet, not before. The whole pellet goes into the next container, so the roots are never handled. A weak feed and a root stimulant such as Rhizotonic suit this stage better than a full-strength nutrient - there is more on staging your feed in our feeding schedule by growth stage.
From there, coco in a 27L pot is a straightforward next home; see growing in coco coir for how watering changes once they are in.
Why cuttings fail
| Symptom | Usual cause |
|---|---|
| Wilted within a day and never recovers | Humidity too low, or too much leaf left on |
| Stem goes soft and brown at the base | Pellet too wet |
| Yellowing after 10 days, no roots | Too cold, or too dark for too long |
| Whole tray fails together | Contaminated blade or reused medium |
| Callus forms but no roots | Often too warm and too wet; ease off both |
Frequently asked questions
How long do cuttings take to root?
Commonly one to three weeks, depending on species, temperature and how healthy the mother plant was. Wait until roots are visible through the pellet before potting on rather than going by the calendar.
Should I dip cuttings in rooting gel or powder?
A gel coats the cut evenly and seals it against air, which is why it suits soft cuttings well. Powder works too, but it is easier to apply unevenly. Either way, decant a small amount into a separate cup so you never contaminate the main container.
Why do my cuttings rot at the base?
Almost always a pellet that is too wet. Squeeze the excess water out after soaking so it is damp rather than dripping, and make sure the tray is not sitting in standing water.
Do I need to feed cuttings?
Not until roots appear. Without roots there is nothing to take up nutrients, and salts in the pellet only make it harder for the cutting to hold water. Once roots show, start very weak.
How much leaf should I remove?
Strip anything that would sit in the medium, and cut very large leaves back by roughly half. You are balancing water loss against the leaf area the cutting needs to power rooting, so do not strip it bare either.
Can I reuse Jiffy pellets?
Better not to. Used medium carries whatever was in the last tray, and a contaminated pellet can take out a whole batch. They are inexpensive enough that starting clean is the cheaper option.